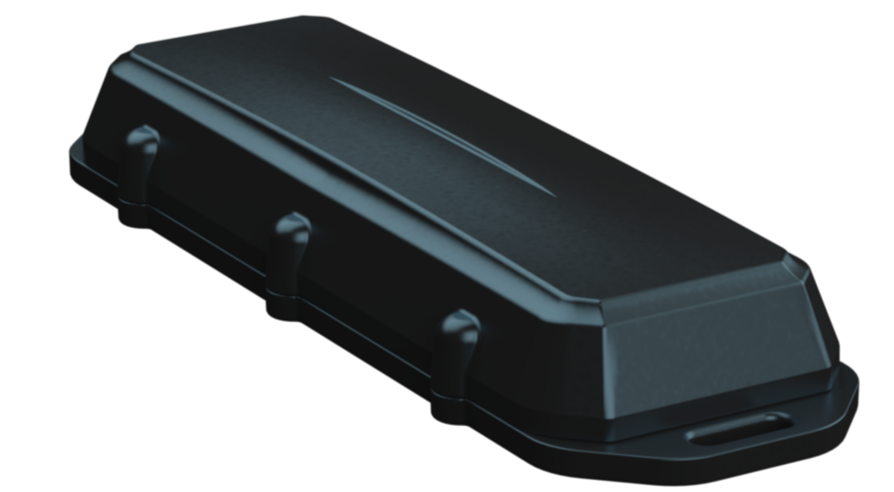
Install Guide - Ultra Slim 10E
Device Provisioning
- The Ultra Slim 10E comes with a pre-installed SIM card and is provisioned on our GPS tracking platform.
- Each device is checked for connectivity prior to being delivered to a client site.
- The device is IP68 rated. It is important to ensure that the device is correctly assembled to achieve the IP rating. Failure to do so may result damage to the product.
Battery Recommendations
- The Ultra Slim 10E requires 2 x Energizer Ultimate Lithium AA batteries.
- Insert the batteries following the markings on the battery holder indicating the polarity. The springs are the negative terminal.
Sealing the Device
- The Ultra Slim 10E has an IP68 and IK07 rated housing. The device must be sealed carefully to achieve the IP68 rating.
- The key goal we are trying to achieve in sealing is firm, even pressure on the silicone seal - as this is what keeps the device water-tight and dust-proof.
- To achieve this:
Mounting and Installation
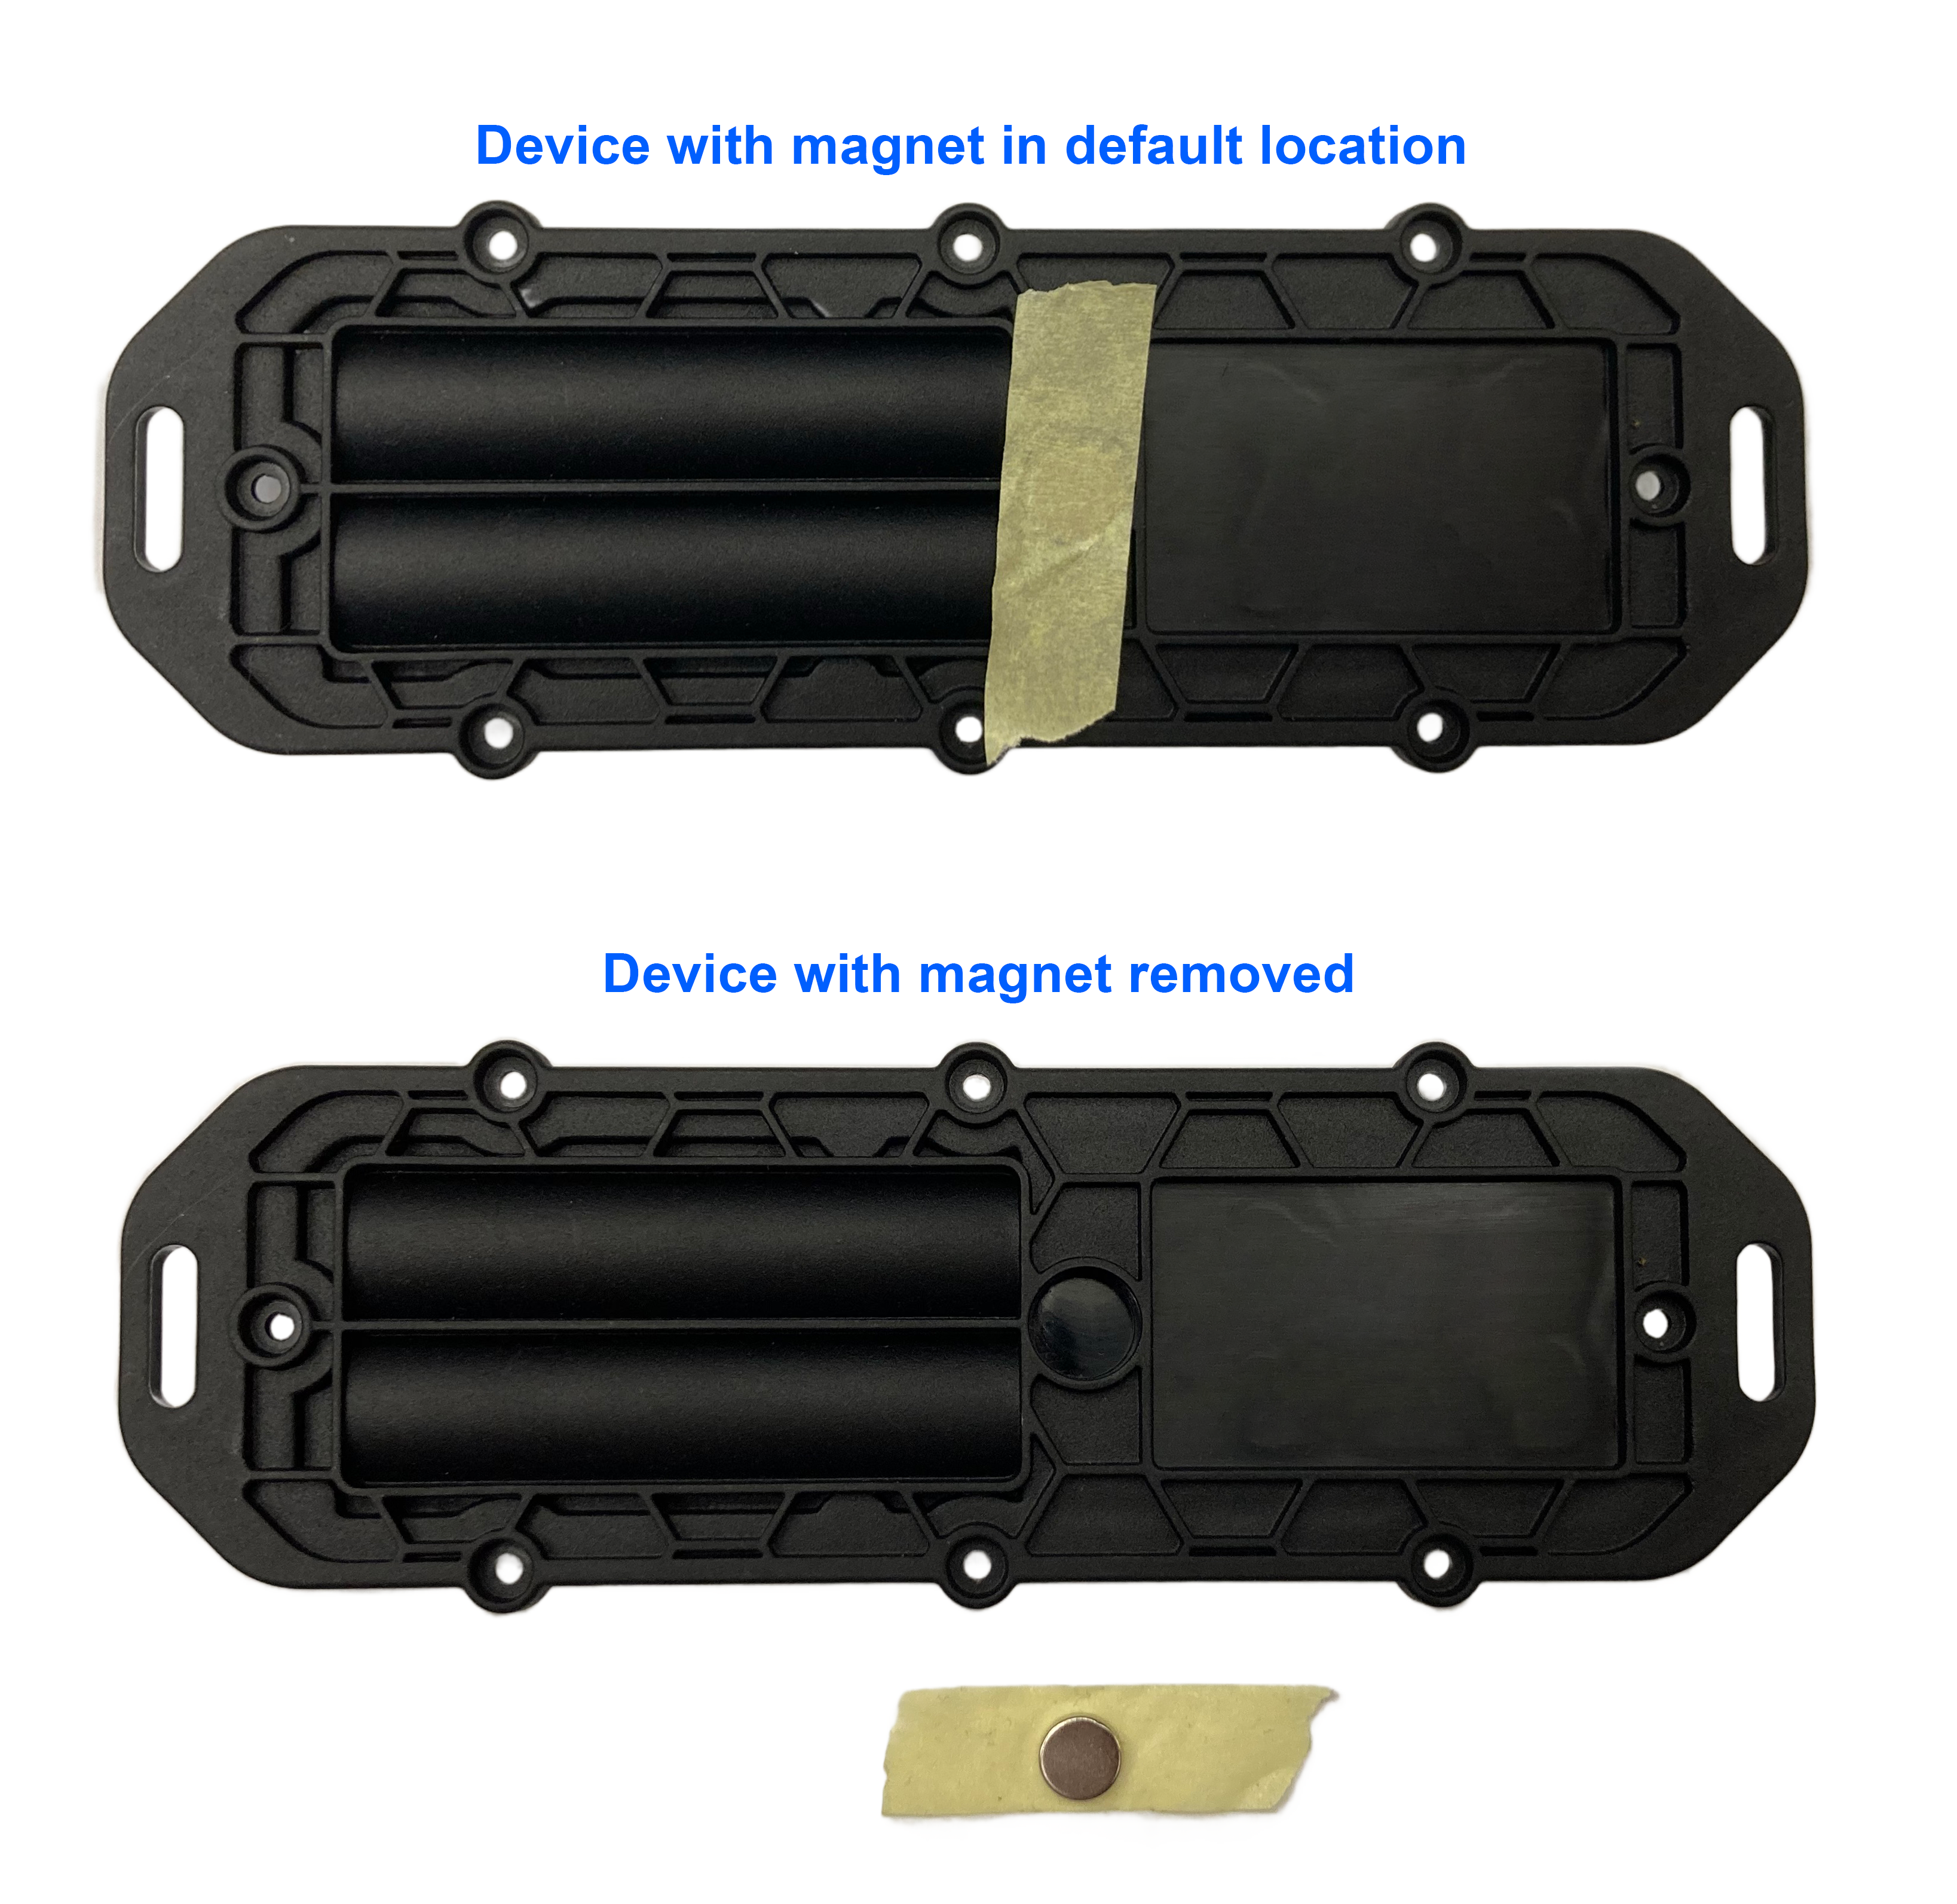
- In order for the device to come online, the magnet at the back of the device needs to be removed (signified by the tape covering it). By default, this magnet is used for activation mode for the device.
- When installing the device, the magnet can be glued or otherwise attached to the asset.
- The Ultra Slim 10E is then installed over the magnet (the magnet fits inside the housing recess)
- This device can be mounted on the asset to be tracked using screws, bolts, cable ties or industrial adhesives.
- When choosing a mounting point, you have two competing goals:
- To minimise the chances of the device being accidentally crushed or dislodged.
- To maximise the GNSS and mobile reception and provide adequate ventilation.
- Avoid installing the box completely enclosed in a metal box
- Avoid installing in a location that will result in elevated temperatures.
- Try to orient the GNSS antenna towards the sky where possible (screw heads facing down)
- When using device for Tip Detection, please ensure the device is mounted on the asset vertically with the battery compartment facing down as per below:
WARNING: Failure to mount the device in the correct orientation may result in false readings and alerts.
Device Testing
On completion of the installation, please contact us on 1300 88 36 79 to allow us to check that the device is correctly functioning.
Please have the device IMEI number or Serial number (printed on the device) and Customer Name ready.
Related Articles
Install Guide – Remote Worker
Device Provisioning The Remote Worker comes with a pre-installed SIM card and is provisioned on our GPS tracking platform. Each device is checked for connectivity prior to being delivered to a client site. The device is not IP67 rated, so be cautious ...Install Guide – Dash 4G
Device Provisioning The Dash 4G comes with a pre-installed SIM card and is provisioned on our GPS tracking platform. Each device is checked for connectivity prior to being delivered to a client site. The device is not IP67 rated, so be cautious when ...Install Guide – AD Plus V2
Device Provisioning The AD Plus V2 comes with a pre-installed SIM card and is provisioned on our GPS tracking platform, and video monitoring platform. The AD Plus V2 also come pre-installed with SD Card(s) for on-board video recording. Each device is ...Install Guide – AD Plus
Device Provisioning The AD Plus comes with a pre-installed SIM card and is provisioned on our GPS tracking platform, and video monitoring platform. The AD Plus also come pre-installed with SD Card(s) for on-board video recording. Each device is ...Install Guide – Rugged+
Device Provisioning The Rugged+ comes with a pre-installed SIM card and is provisioned on our GPS tracking platform. Each device is checked for connectivity prior to being delivered to a client site. The internal battery is switched off for transit ...